Ultimate Guide To How To Clean Shower Curtains Mold
Ultimate Guide To How To Clean Shower Curtains Mold NZ Welcome to the ultimate guide…
Shower Installation Services Auckland

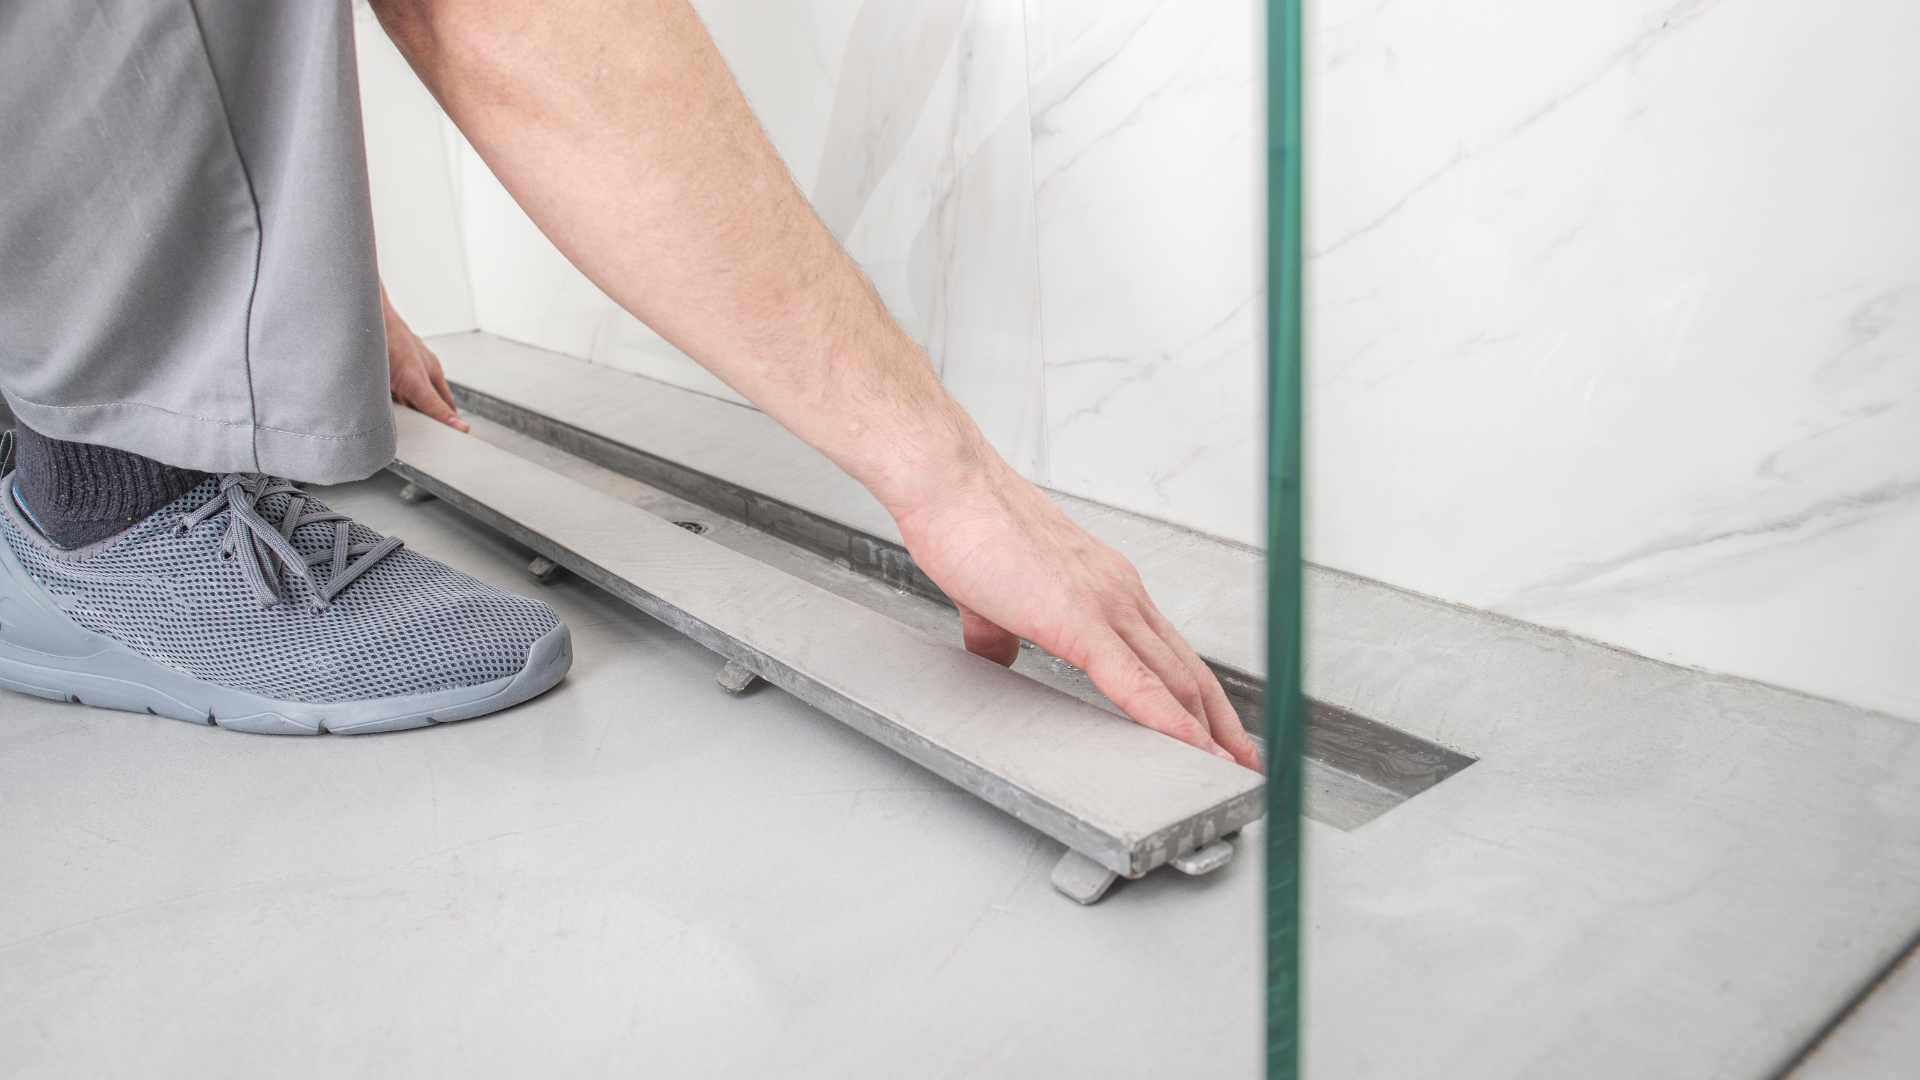
When it comes to installing a linear shower drain in concrete, think of it as the unseen foundation beneath a well-designed bathroom oasis – crucial yet often overlooked. The process demands attention to detail and precision, ensuring a seamless integration into your shower space. From preparing the concrete subfloor to connecting drainage pipes, each step plays a vital role in achieving a functional and aesthetically pleasing result. Let’s begin this journey of transforming your shower area into a modern marvel of utility and style.
To properly install a linear shower drain in concrete, you’ll need a few essential tools and materials. Begin by gathering a hacksaw, tape measure, spirit level, screwdriver, and a drill with masonry bits.
Additionally, procure PVC solvent cement, a waterproofing membrane, concrete mix, and the linear shower drain kit itself. The waterproofing membrane is crucial to prevent water leakage and ensure the longevity of your shower installation. The concrete mix will create a stable base for the linear drain.
Make sure to have all these items on hand before starting the installation process. Planning ahead and having the necessary tools and materials ready will make the installation smoother and more efficient.
Begin by assessing the condition of the concrete subfloor for any cracks or uneven surfaces. Fill in any gaps or holes with a concrete patch, ensuring a smooth and level base for the linear shower drain installation.
Use a level to check the evenness of the subfloor, making any necessary adjustments before proceeding. It’s crucial to have a solid foundation to prevent any issues with water drainage once the linear shower drain is installed.
Additionally, clean the subfloor thoroughly to remove any debris or dust that could affect the adhesion of the waterproofing membrane. A well-prepared concrete subfloor is essential for a successful linear shower drain installation that will last for years to come.
After ensuring your concrete subfloor is smooth and level, the next step in the installation process is placing the linear shower drain body. Start by inserting the drain body into the opening in the subfloor, ensuring it fits snugly.
Use a level to make sure the drain body sits flat and is aligned correctly. Secure the drain body in place by following the manufacturer’s instructions, which often involve fastening it to the surrounding concrete.
Check that the weep holes on the drain body are positioned correctly and are unobstructed to allow proper water drainage. Once the linear shower drain body is securely in place, you can proceed with the rest of the installation process, bringing you one step closer to completing your sleek shower design.
When connecting the drainage pipes for the linear shower drain installation, ensure a proper fit and secure connection to facilitate efficient water flow. Begin by attaching the drainage pipe to the outlet of the shower drain body using an appropriate coupling.
Next, connect the other end of the drainage pipe to the main plumbing system, ensuring a watertight seal. Use PVC cement or a suitable adhesive to join the pipes together firmly. Check that the pipes are aligned correctly to avoid any obstructions to water flow.
Once the connections are in place, conduct a brief water test to verify that there are no leaks and that water flows smoothly through the system.
To ensure a professional and polished finish to your linear shower drain installation, focus on meticulously sealing all joints and finishing the surrounding concrete.
Use a high-quality waterproof sealant to seal all connections between the drain components and pipes securely. This step is crucial to prevent any leaks that could lead to water damage.
Additionally, pay close attention to the concrete finishing around the drain. Smooth out any rough edges or uneven surfaces to create a seamless and aesthetically pleasing look.
A well-executed sealing and finishing process not only enhances the overall appearance of your shower but also contributes to the longevity and functionality of the linear drain system.
Now that you have successfully installed the linear shower drain in concrete, your bathroom renovation is one step closer to completion.
With the right tools and materials, proper preparation, and careful installation, your shower will now have efficient drainage and a sleek, modern look.
Enjoy your new shower experience knowing that you tackled this project like a pro!
Ultimate Guide To How To Clean Shower Curtains Mold NZ Welcome to the ultimate guide…
Ultimate Guide To How To Unblock Shower Drain NZ Welcome to your ultimate guide on…
Ultimate Guide To How Much Does It Cost To Tile Your Shower NZ Welcome to…
Ultimate Guide To How To Increase The Water Pressure Of Your Shower NZ Welcome to…
How Much Does Shower Installation Cost In NZ? Are you considering upgrading your shower but…
How Long Does It Take To Install A Shower? You know the saying, ‘Rome wasn’t…
How to Install a Linear Shower Drain in Concrete? When it comes to installing a…
How To Install A Shower? Imagine you’re looking at a blank canvas, envisioning the masterpiece…
About the Author:
Mike Veail is a recognized digital marketing expert with over 6 years of experience in helping tradespeople and small businesses thrive online. A former quantity surveyor, Mike combines deep industry knowledge with hands-on expertise in SEO and Google Ads. His marketing strategies are tailored to the specific needs of the trades sector, helping businesses increase visibility and generate more leads through proven, ethical methods.
Mike has successfully partnered with numerous companies, establishing a track record of delivering measurable results. His work has been featured across various platforms that showcase his expertise in lead generation and online marketing for the trades sector.
Learn more about Mike's experience and services at https://theleadguy.online or follow him on social media: