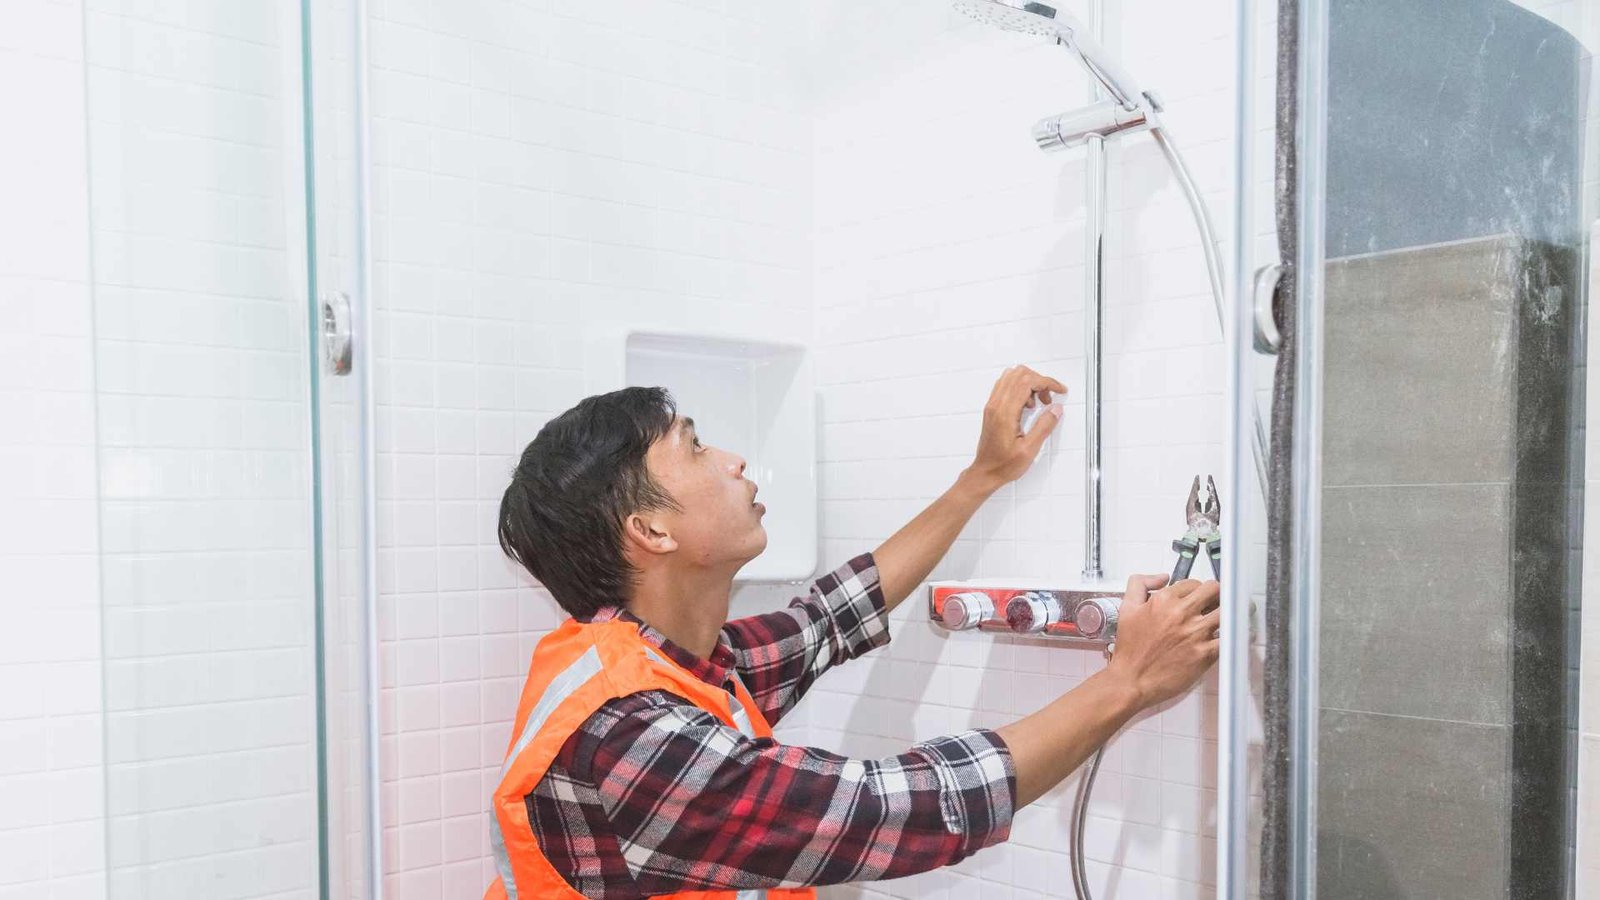
Shower Installation Services Auckland

Shower-Installation

How Long Does It Take To Install A Shower?

You know the saying, ‘Rome wasn’t built in a day.’ Well, when it comes to installing a shower, the timeline can vary depending on several key factors. From preparing the bathroom space to connecting plumbing fixtures, each step plays a crucial role in determining how long the installation process will take. But just how long does it really take to transform your bathroom with a new shower? Let’s explore the intricacies involved in this project and uncover what might impact the overall timeline.

Factors Affecting Installation Time

Factors affecting the time it takes to install a shower can vary depending on several key elements.

Firstly, the type of shower being installed plays a significant role. For example, a basic alcove shower may take less time compared to a custom-designed, intricate shower with multiple fixtures.

Secondly, the condition of the existing plumbing and infrastructure in your bathroom is crucial. If extensive repairs or modifications are needed, it will inevitably add to the installation time.

Lastly, the experience and efficiency of the installer are essential factors. A seasoned professional familiar with the process can complete the installation more quickly and accurately than someone with less experience.

Preparing the Bathroom Space

To begin preparing the bathroom space for shower installation, clear out any clutter and remove all personal items from the area. This step is crucial to provide the installer with ample space to work efficiently.

Next, ensure that the walls are clean and free of any existing fixtures that need to be removed. If any repairs or modifications are needed, address them before the installation process begins.

Additionally, make sure the water supply lines and drainage are accessible and in good condition. Having these elements ready will streamline the installation process and prevent delays.

Installing the Shower Base

When installing the shower base, ensure that it’s level and properly positioned to provide a sturdy foundation for the rest of the shower assembly. Start by placing the shower base in the desired location and use a level to check for any unevenness. Adjust as needed to guarantee a flat surface.

Next, secure the base according to the manufacturer’s instructions, typically by screwing it into the floor. Make sure the base is tightly anchored to prevent any shifting or movement once the shower is in use.

Proper installation of the shower base is crucial as it sets the stage for the entire shower structure, ensuring durability and functionality for years to come.

Connecting Plumbing Fixtures

After securing the shower base in place, the next step involves connecting the plumbing fixtures to ensure proper functionality of the shower system. Begin by attaching the showerhead to the water supply pipe using thread seal tape to prevent leaks.

Connect the hot and cold water supply lines to the respective valves, ensuring they’re tightly secured. Install the shower faucet by following the manufacturer’s instructions, making sure it aligns correctly with the water supply lines.

Test the connections by turning on the water and checking for any leaks. Once everything is securely connected and leak-free, proceed to test the water temperature and pressure to ensure a satisfactory shower experience. Properly connecting the plumbing fixtures is crucial for a functional and efficient shower system.

Finishing Touches and Cleanup

Consider tidying up any excess sealant or debris around the shower area for a polished and clean finish. Use a damp cloth to wipe away any lingering residue, ensuring the shower’s aesthetics are top-notch.

Inspect the fixtures for any leaks, tightening connections if necessary. Test the shower to confirm proper functionality and address any issues promptly.

Dispose of packaging materials and leftover supplies responsibly. Sweep or vacuum the surrounding floor to remove dust or debris that accumulated during installation.

Check for any damage that may have occurred during the process and address it accordingly. Once everything is in order, step back and admire your newly installed shower, ready for you to enjoy its refreshing benefits.

Overall, the time it takes to install a shower can vary depending on various factors such as the complexity of the design, the condition of the existing plumbing, and the experience level of the installer.

However, with proper preparation, efficient installation techniques, and attention to detail, a shower installation can typically be completed in a matter of hours to a few days.

Ultimate Guide To How To Clean Shower Curtains Mold

Ultimate Guide To How To Clean Shower Curtains Mold

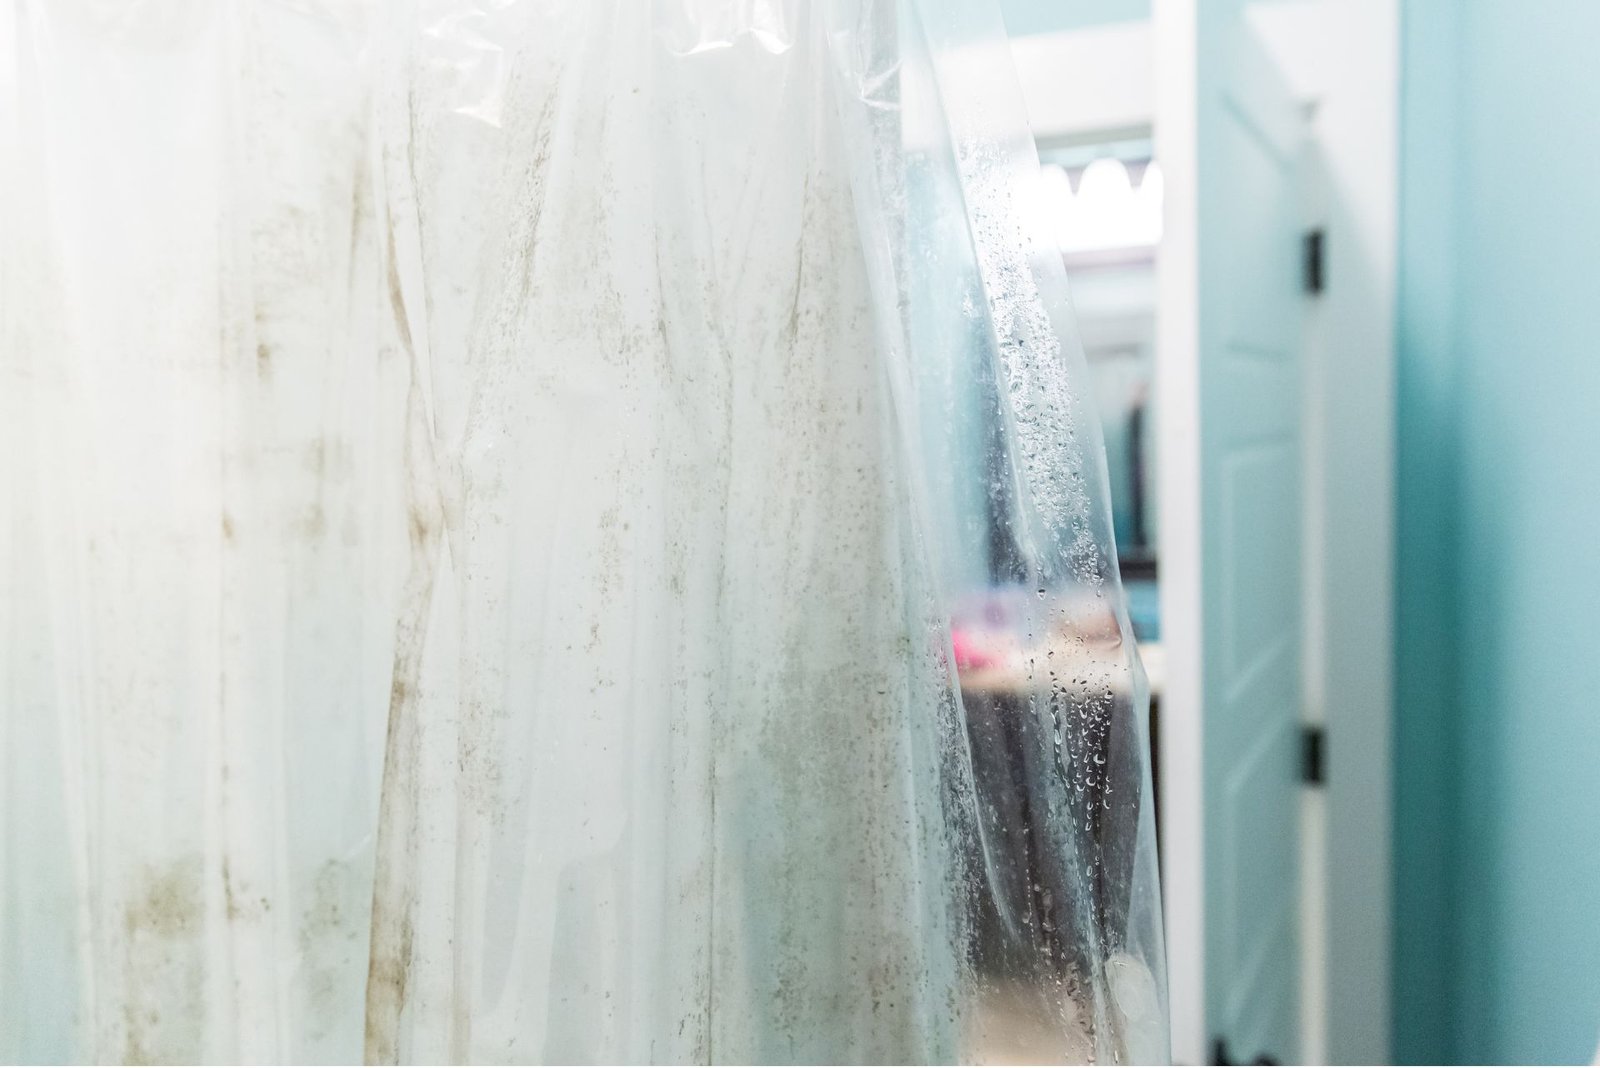
Ultimate Guide To How To Clean Shower Curtains Mold NZ Welcome to the ultimate guide…

Ultimate Guide To How To Unblock Shower Drain

Ultimate Guide To How To Unblock Shower Drain

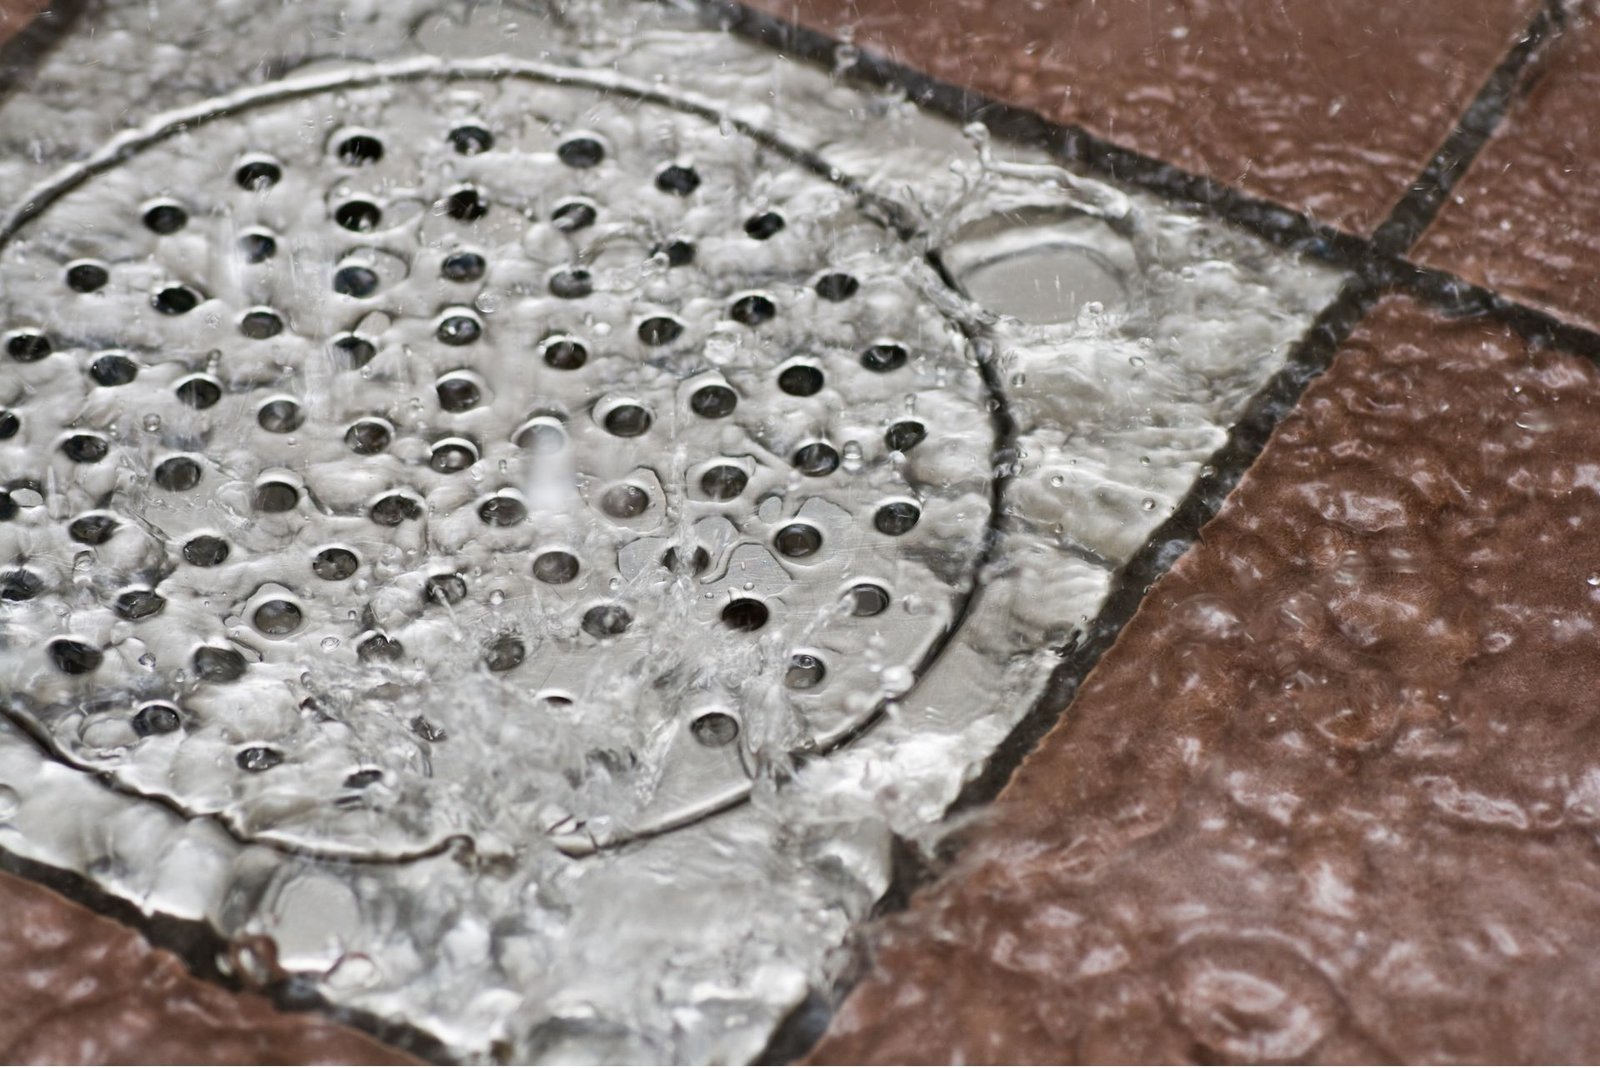
Ultimate Guide To How To Unblock Shower Drain NZ Welcome to your ultimate guide on…

Ultimate Guide To How Much Does It Cost To Tile Your Shower

Ultimate Guide To How Much Does It Cost To Tile Your Shower

Ultimate Guide To How Much Does It Cost To Tile Your Shower NZ Welcome to…

Ultimate Guide To How To Increase The Water Pressure Of Your Shower

Ultimate Guide To How To Increase The Water Pressure Of Your Shower

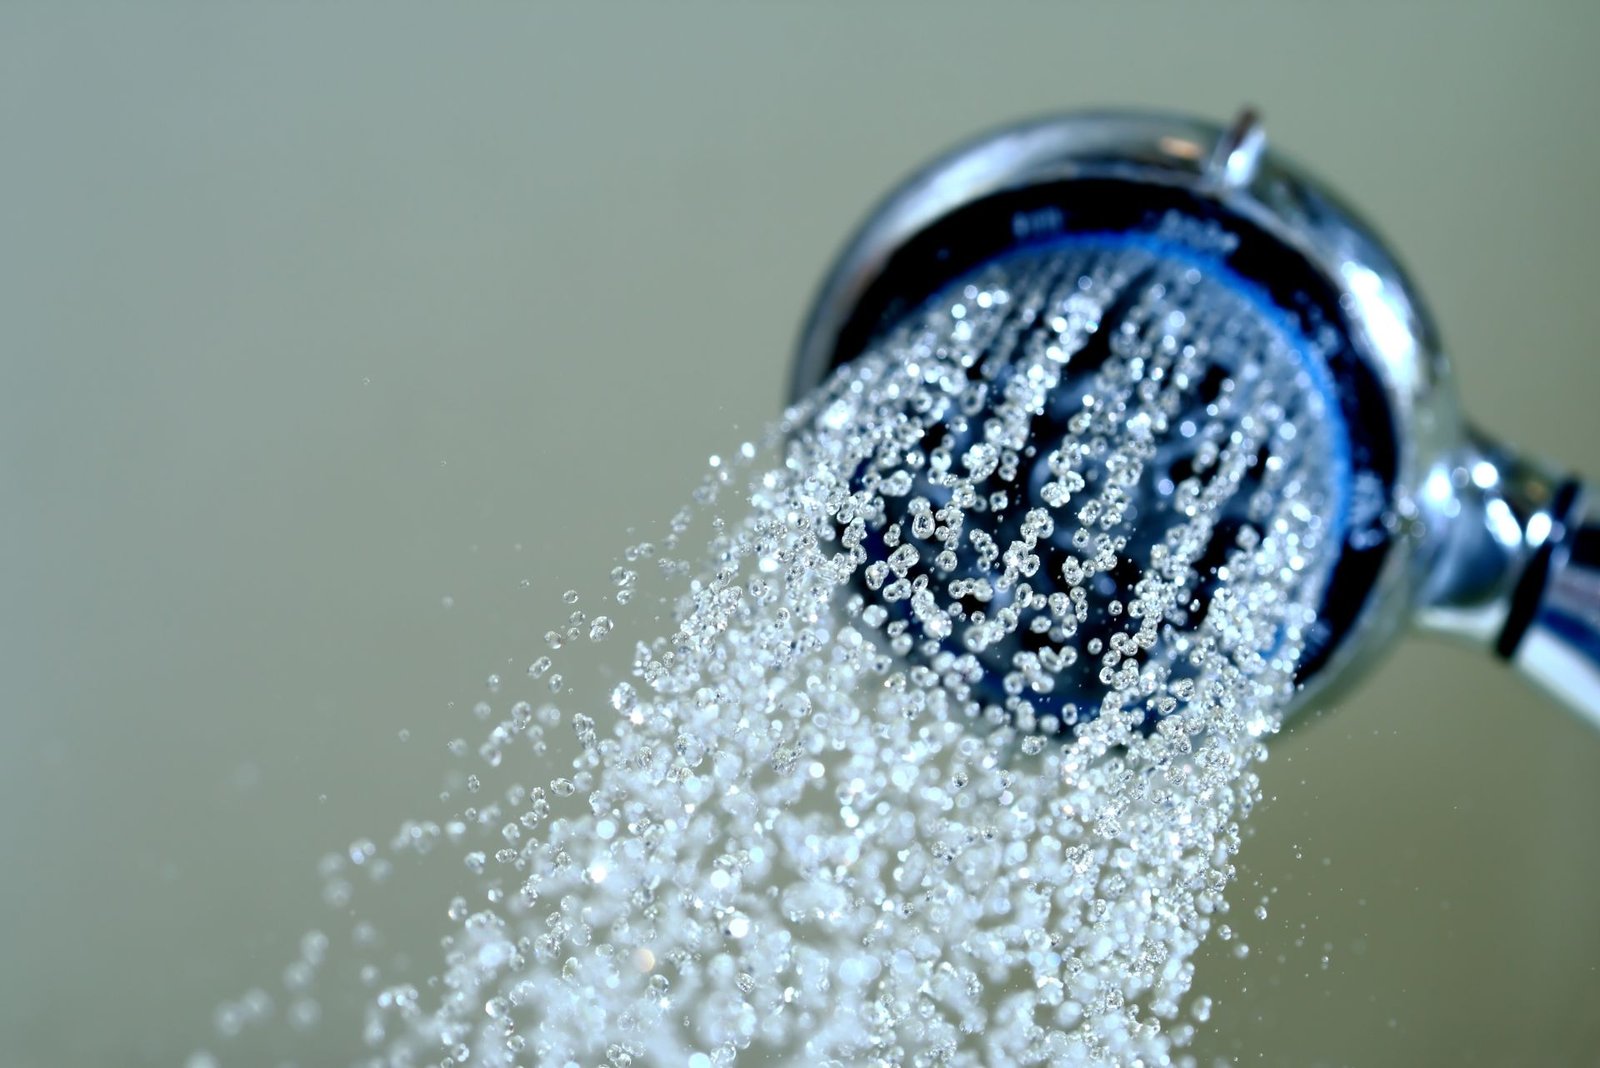
Ultimate Guide To How To Increase The Water Pressure Of Your Shower NZ Welcome to…

How Much Does Shower Installation Cost In NZ?

How Much Does Shower Installation Cost In NZ?

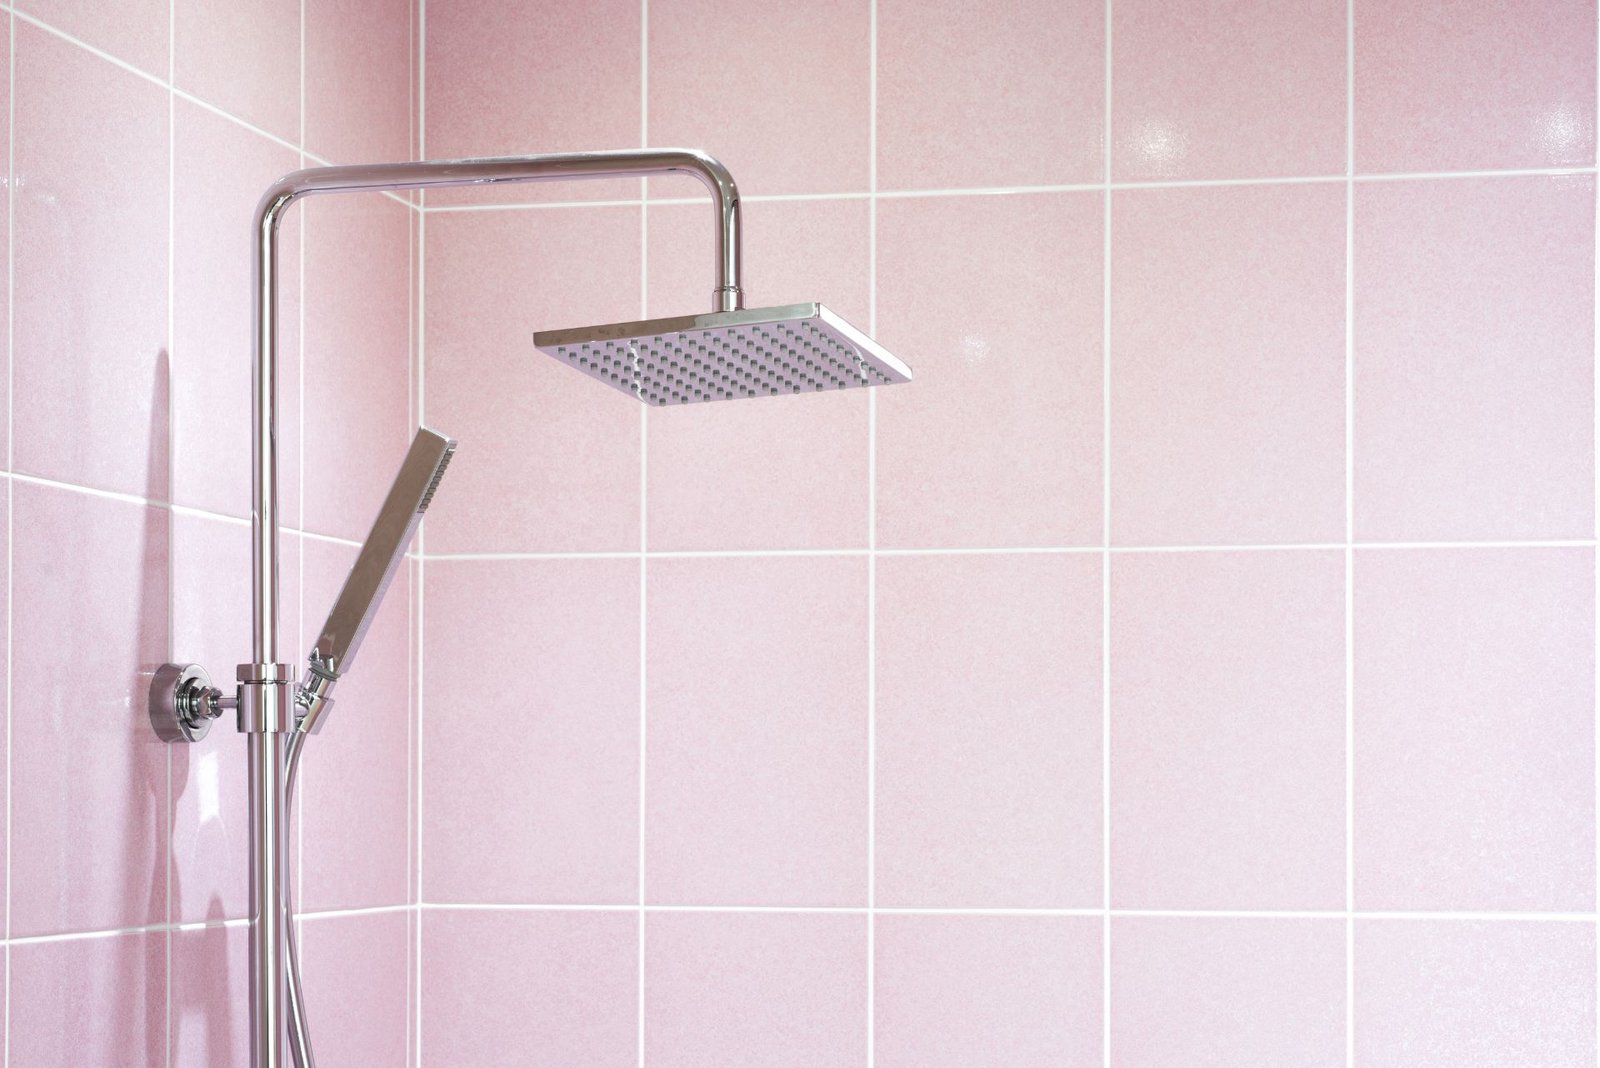
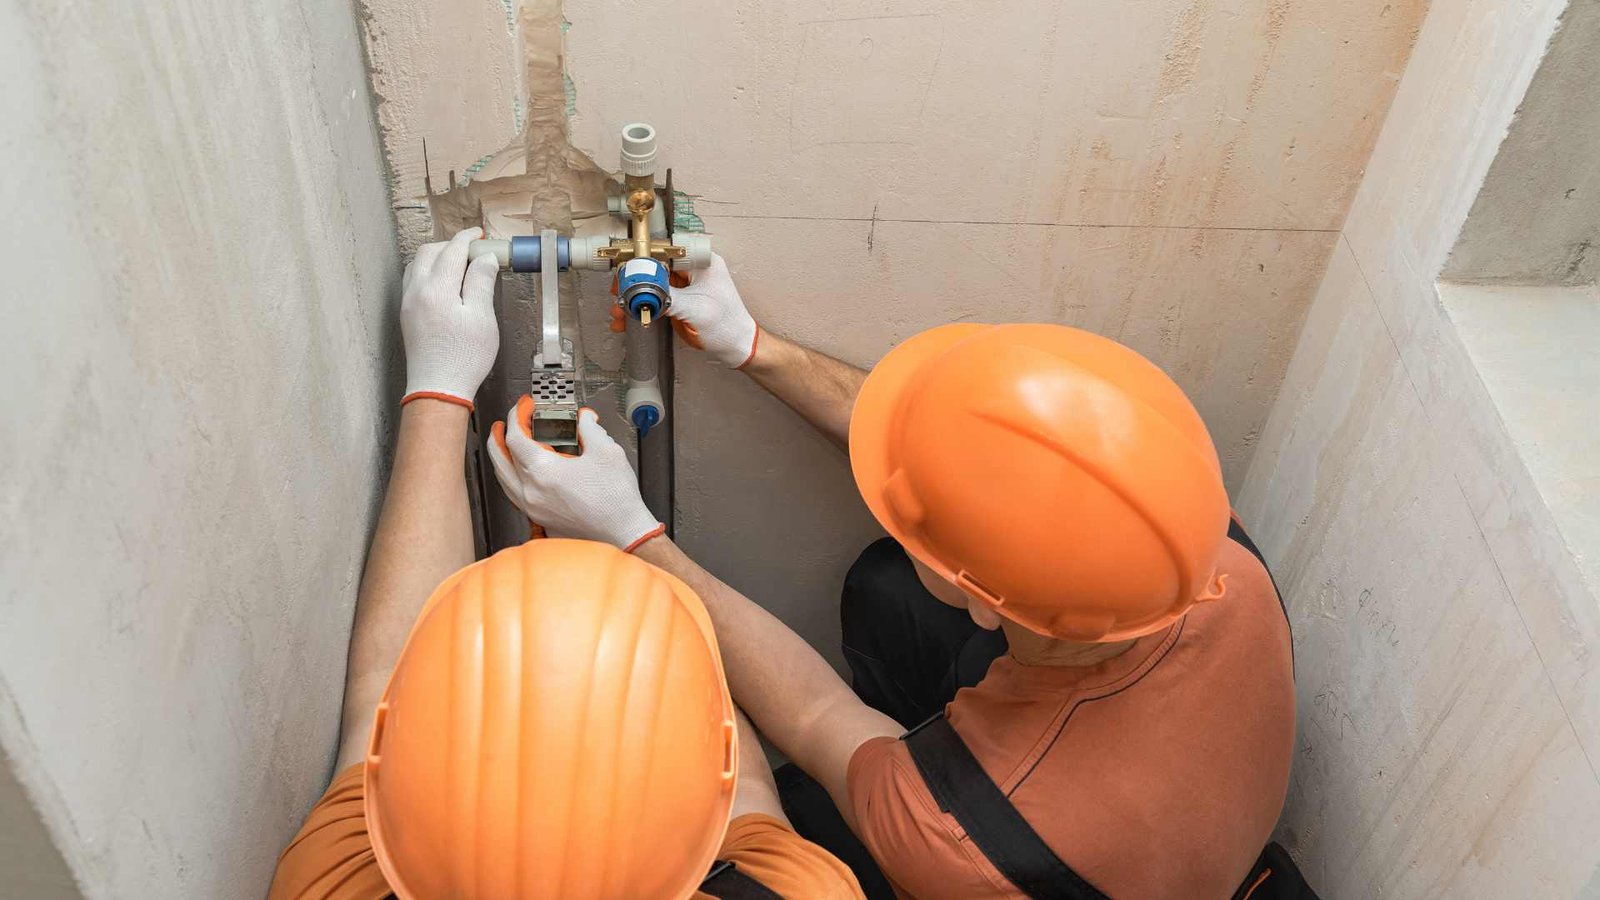
How Much Does Shower Installation Cost In NZ? Are you considering upgrading your shower but…

How Long Does It Take To Install A Shower?

How Long Does It Take To Install A Shower?

How Long Does It Take To Install A Shower? You know the saying, ‘Rome wasn’t…

Scroll to Top