Ultimate Guide To How To Clean Shower Curtains Mold
Ultimate Guide To How To Clean Shower Curtains Mold NZ Welcome to the ultimate guide…
Shower Installation Services Auckland

Imagine you’re looking at a blank canvas, envisioning the masterpiece you’ll create. Installing a shower is akin to embarking on a DIY project that not only adds value to your home but also provides a sense of accomplishment. From planning the layout to connecting the final plumbing pieces, each step plays a crucial role in bringing your vision to life. As you start this journey, the first few steps may seem overwhelming, but fear not, for with the right guidance and attention to detail, you’ll soon be enjoying the soothing spray of your newly installed shower.
When planning your shower installation, consider the layout of your bathroom and the location of existing plumbing. Assess whether you want a shower stall or a bathtub with a showerhead. Determine if you need to make any adjustments to accommodate the new shower. Check the dimensions of the space to ensure the shower will fit properly.
Think about the type of shower system you want, such as a traditional valve system or a modern thermostatic mixer. It’s crucial to plan the layout to optimize functionality and aesthetics. By taking these factors into account early on, you can avoid costly changes or complications during the installation process.
To begin preparing the shower area, clear out any existing fixtures and ensure the space is clean and dry. Remove any old tiles, shower doors, or curtains. Check for any water damage or mold that needs addressing before proceeding.
Make sure the plumbing is in good condition and that there are no leaks. Inspect the walls and floor for stability and repair any damages. Measure the space accurately to ensure the new shower unit will fit properly.
Ventilate the area properly to prevent future mold or mildew issues. By taking these steps, you’ll create a solid foundation for a successful shower installation.
After ensuring the shower area is clean and free of any existing fixtures, proceed to the installation of the shower base.
Start by placing the shower base in the desired position, ensuring it’s level and aligns with the drain. Use a level to double-check the alignment. Once positioned correctly, mark the outline of the base on the floor.
Following the manufacturer’s instructions, apply a bed of mortar or adhesive to secure the base in place. Gently press the base into the mortar, making sure it adheres properly. Allow sufficient time for the mortar or adhesive to set as per the manufacturer’s recommendations before continuing with the installation process.
For a sturdy and waterproof shower enclosure, carefully assemble and install the shower walls following the manufacturer’s guidelines.
Begin by positioning the back panel first, ensuring it’s level and secure. Attach the side panels next, making sure they interlock correctly with the back panel. Use a level to check for plumb and adjust if necessary. Secure the panels in place according to the manufacturer’s instructions, usually with screws or clips.
Apply silicone sealant to all panel joints to prevent water leakage. Double-check the panels’ alignment and make any final adjustments before allowing the sealant to dry completely.
Once the walls are securely in place, you’re ready to proceed with the next steps of your shower installation.
Once the shower walls are securely assembled and sealed, proceed to connect the plumbing and add the finishing touches to complete your shower installation.
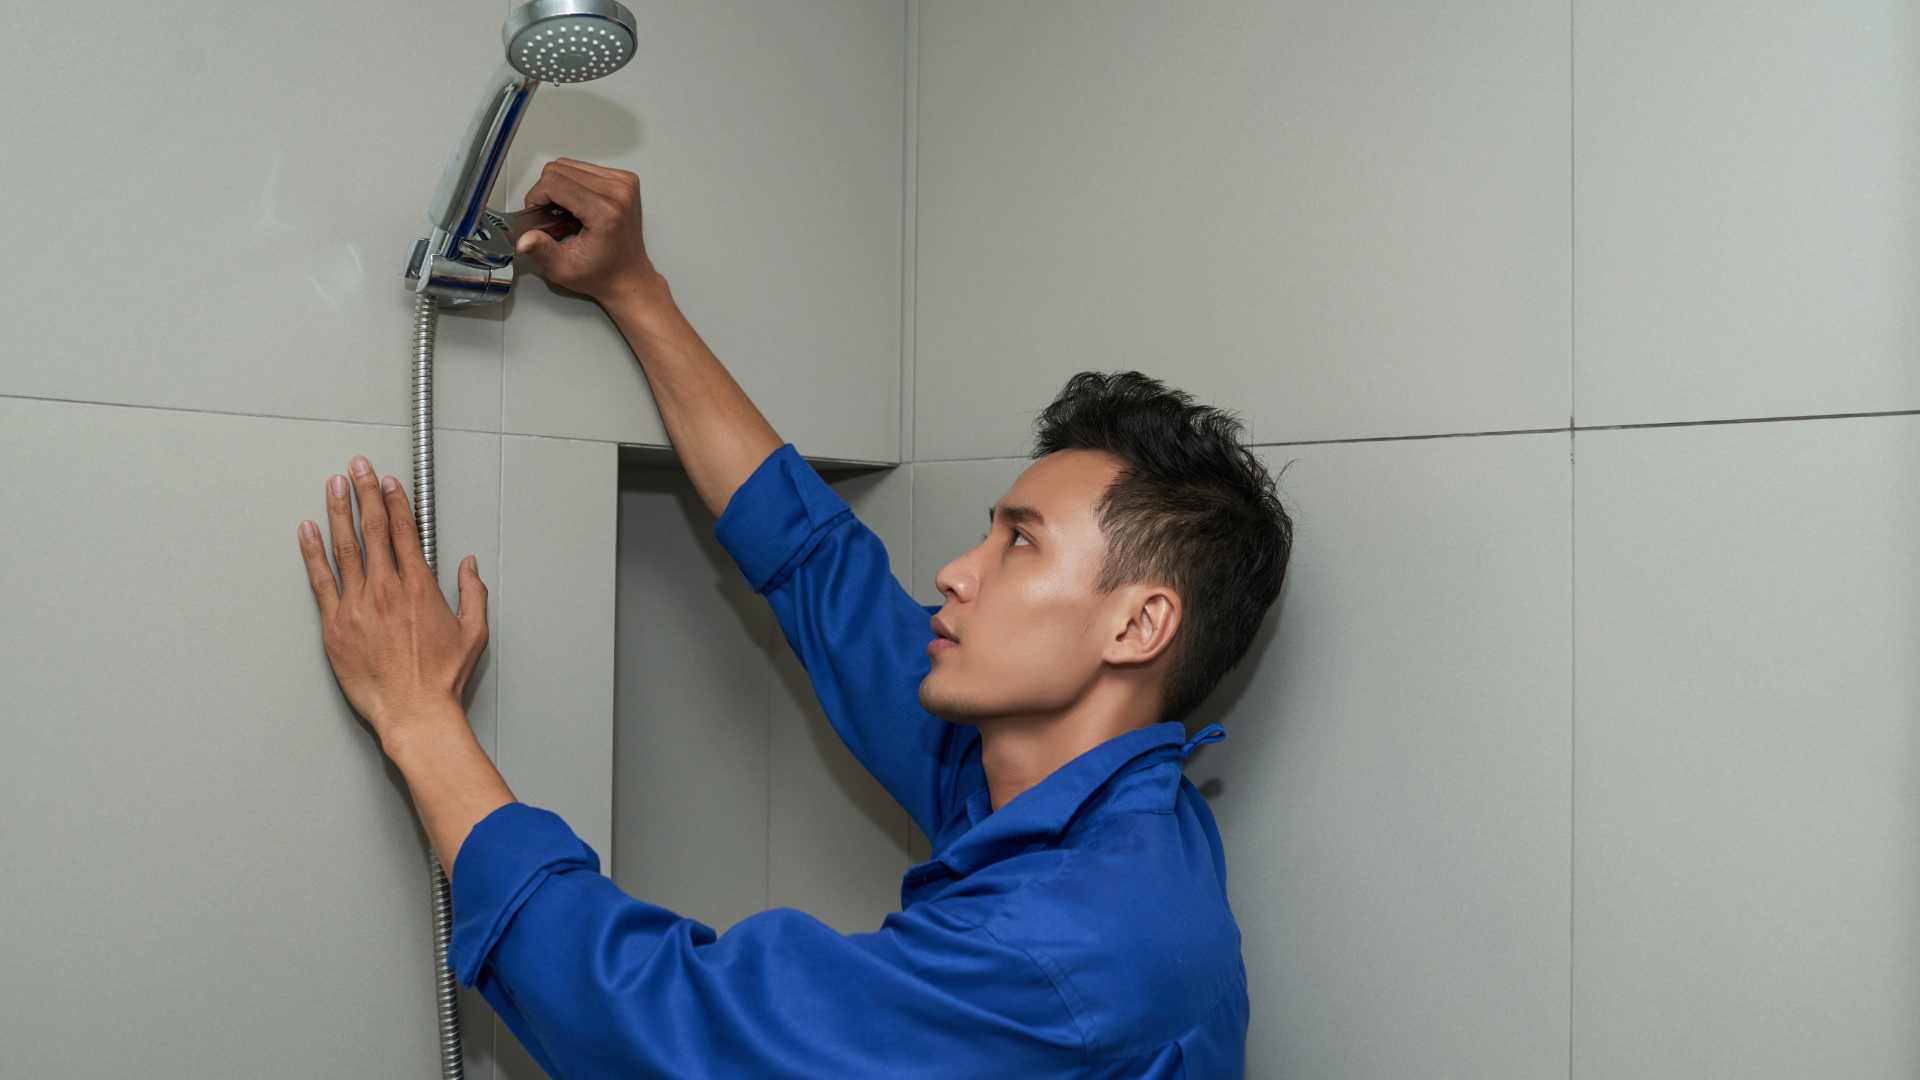
Start by connecting the showerhead and faucet to the water supply lines, ensuring tight seals with plumber’s tape. Next, install the shower drain by connecting it to the existing plumbing system. Test all connections for leaks by turning on the water and checking for any drips or seepage.
Once the plumbing is secure, finish the installation by applying caulk along the edges of the shower walls and floor to prevent water leakage. Finally, install any additional features such as shelves or a shower caddy to personalize your shower space.
With the plumbing connected and finishing touches added, your new shower is now ready for use!
Now that you have completed all the steps in installing your shower, you can enjoy the convenience and comfort of a new shower in your home.
Remember to follow the manufacturer’s instructions and ensure all connections are secure.
With proper planning and careful execution, your new shower will provide you with years of relaxation and functionality.
Enjoy your new shower!
Ultimate Guide To How To Clean Shower Curtains Mold NZ Welcome to the ultimate guide…
Ultimate Guide To How To Unblock Shower Drain NZ Welcome to your ultimate guide on…
Ultimate Guide To How Much Does It Cost To Tile Your Shower NZ Welcome to…
Ultimate Guide To How To Increase The Water Pressure Of Your Shower NZ Welcome to…
How Much Does Shower Installation Cost In NZ? Are you considering upgrading your shower but…
How Long Does It Take To Install A Shower? You know the saying, ‘Rome wasn’t…
How to Install a Linear Shower Drain in Concrete? When it comes to installing a…
How To Install A Shower? Imagine you’re looking at a blank canvas, envisioning the masterpiece…
About the Author:
Mike Veail is a recognized digital marketing expert with over 6 years of experience in helping tradespeople and small businesses thrive online. A former quantity surveyor, Mike combines deep industry knowledge with hands-on expertise in SEO and Google Ads. His marketing strategies are tailored to the specific needs of the trades sector, helping businesses increase visibility and generate more leads through proven, ethical methods.
Mike has successfully partnered with numerous companies, establishing a track record of delivering measurable results. His work has been featured across various platforms that showcase his expertise in lead generation and online marketing for the trades sector.
Learn more about Mike's experience and services at https://theleadguy.online or follow him on social media: